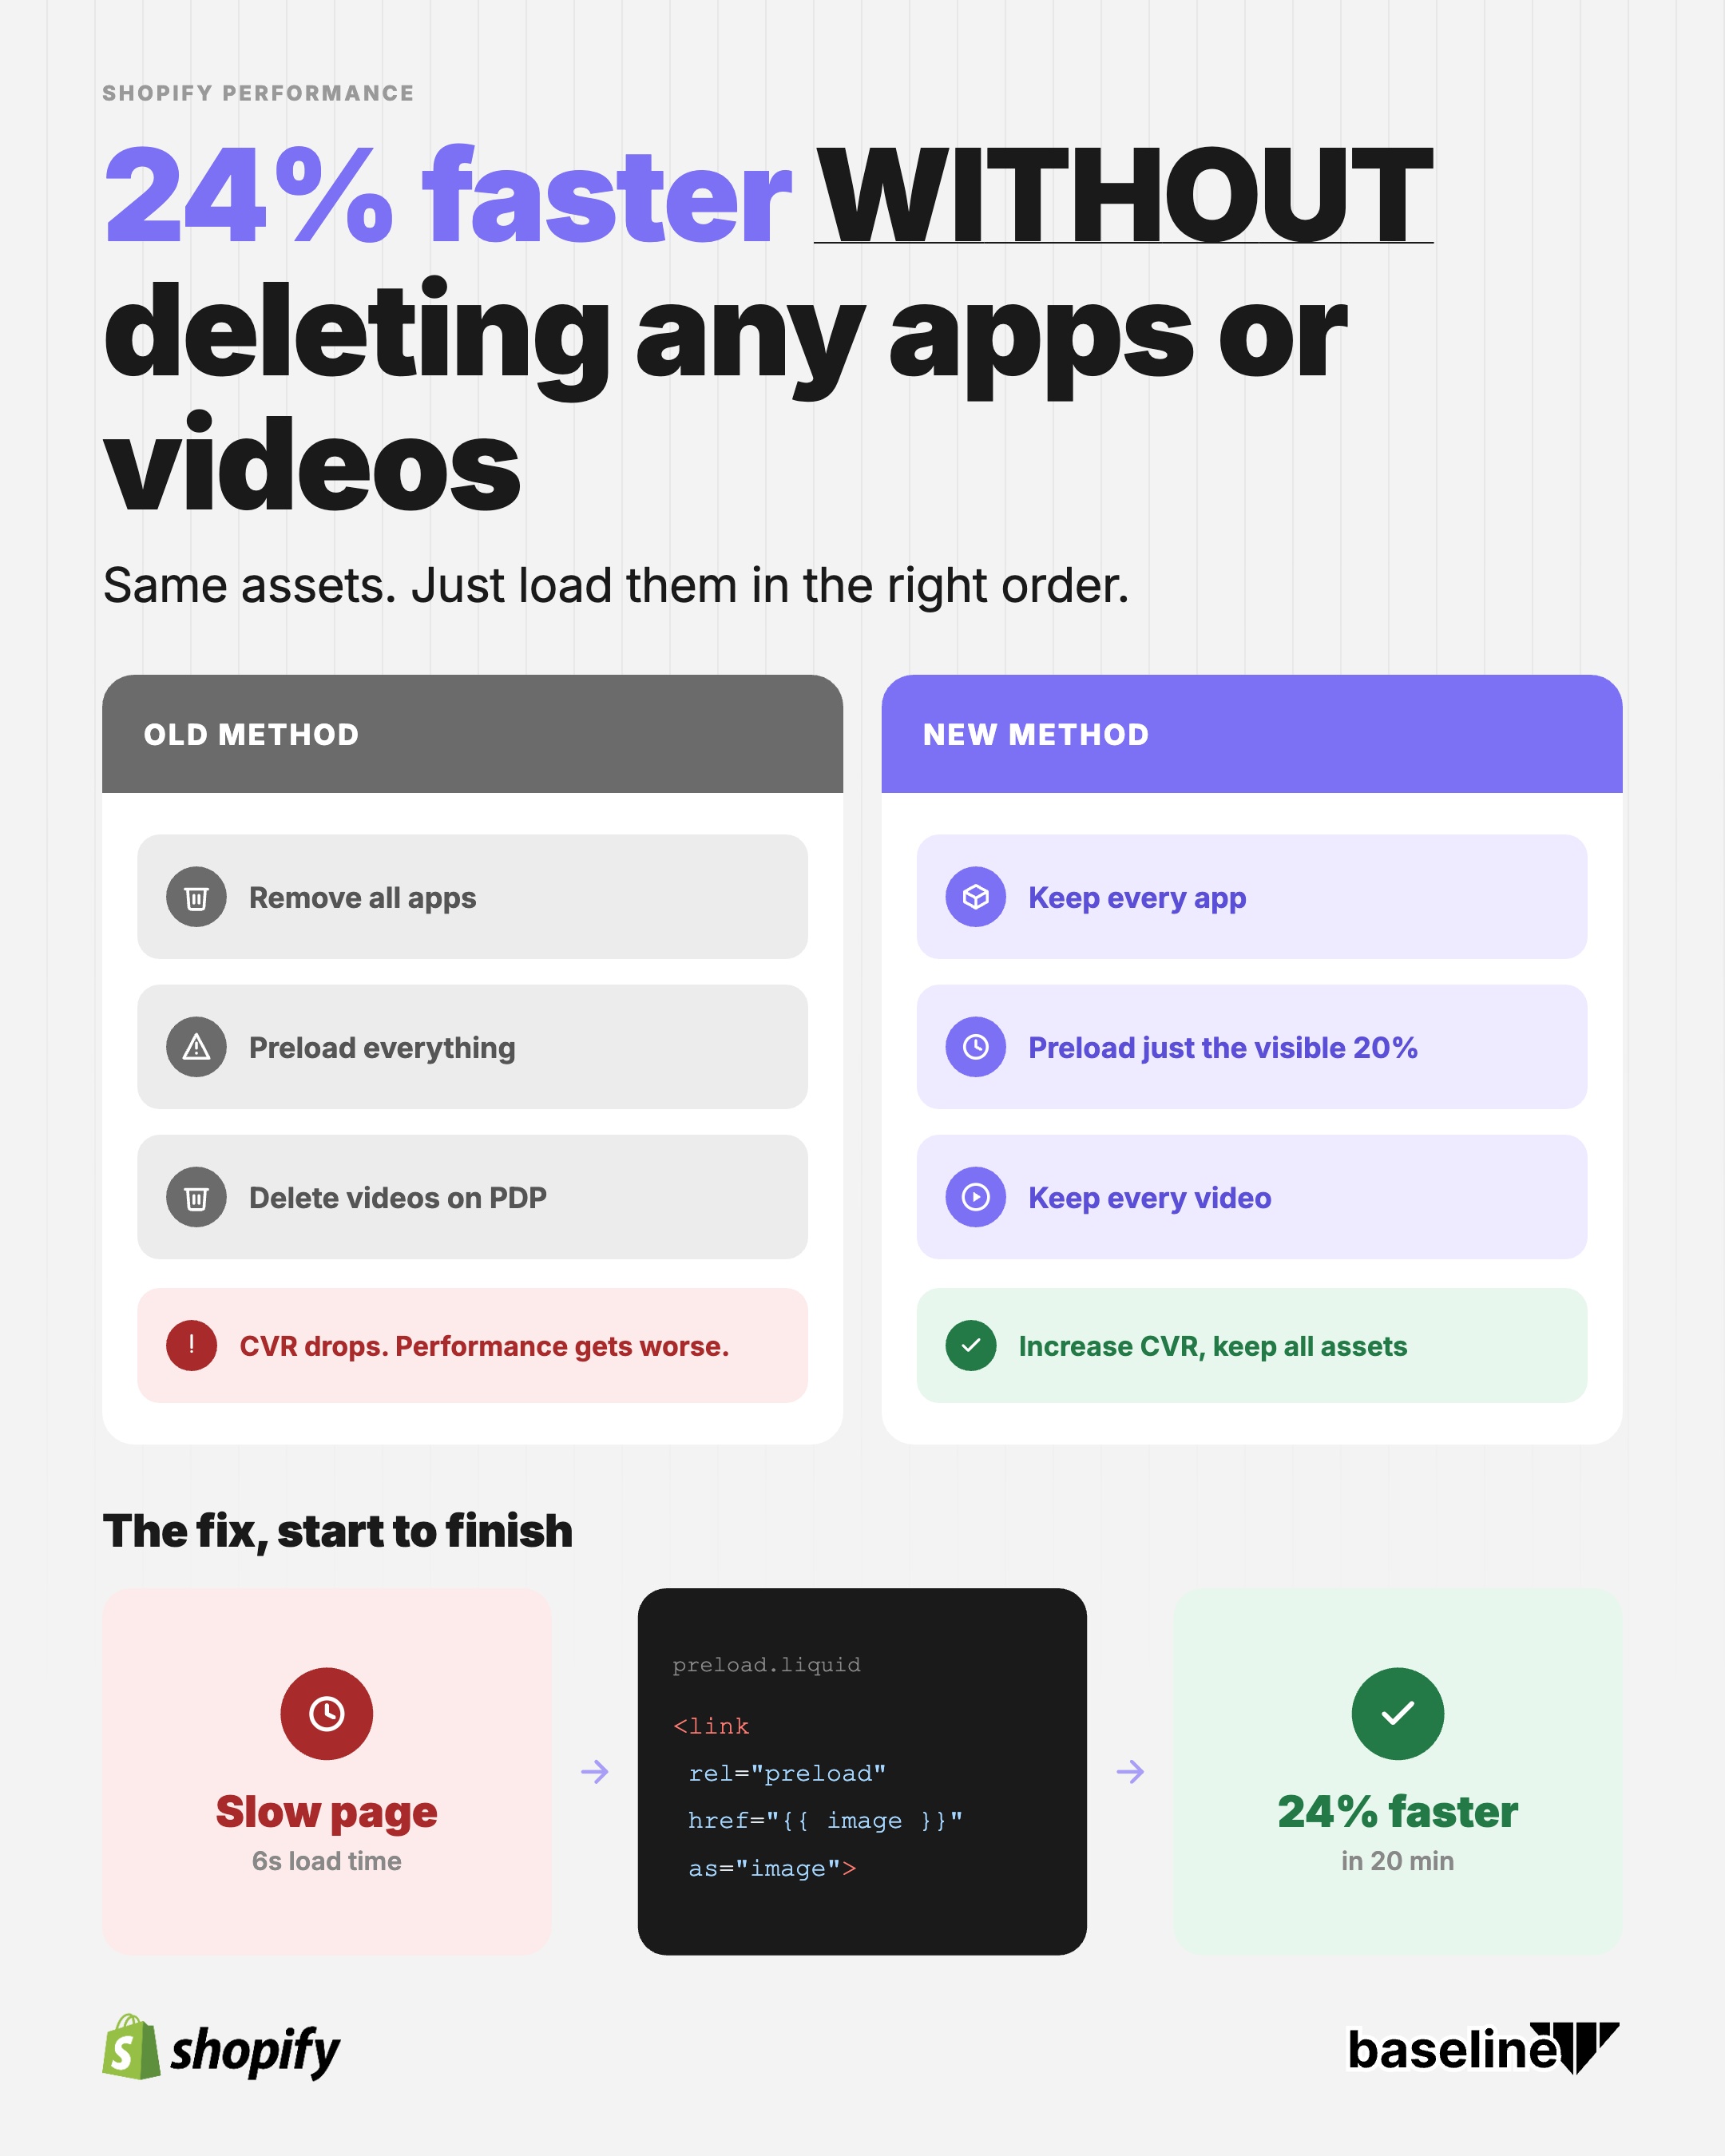
2x faster PDPs by disabling JS animations
Most Shopify themes use Javascript to load images (or display them). This is convenient for devs, but bad for performance. The browser has built-in optimisations that Javascript override, and it results in delays and extra CPU cost.
This post walks through replacing JS with HTML + CSS. Exact same effect, but 2x faster. The swap takes about 10 minutes
How JS-Driven Image Fades Slow Down Your PDPs
The common pattern looks like this:
- Every image starts at
opacity: 0. - A JavaScript module listens for each image's
loadevent. - When the event fires, the script removes a
--loadingclass, which triggers a CSS transition fromopacity: 0toopacity: 1.
It works. But there's a gap between "image is downloaded" and "image is visible" that doesn't need to exist:
| Step | Old method (JS) | New method (CSS) |
|---|---|---|
| 1 | Browser starts downloading the image | Shimmer animates on the wrapper before the image request even starts |
| 2 | Browser fires the image's load event | Image downloads in the background |
| 3 | Deferred JS module wakes up and removes the loading class | Image paints directly over the shimmer the instant it's ready |
| 4 | CSS opacity transition runs, image finally becomes visible | Already visible, no step 4 needed |
That third step is the expensive one. The script has to have already loaded, parsed, and executed, and Shopify themes typically load these as deferred modules, so they're competing with every other script on the page for main thread time. On a slower phone, or a page with a lot of other JS running, the gap between "image ready" and "image visible" can stretch well past what the image download itself took.
This also invalidates any "preloading" you do on images. Since loading them earlier won't matter - they are blocked until JS is ready.
How To Check If Your Theme Does This
You can confirm this pattern is running on your store in a couple of minutes:
- Open a product page and inspect a gallery image in DevTools.
- Look at the class list. Anything like
*-loading,*-fade, or an inlineopacity: 0style is the tell.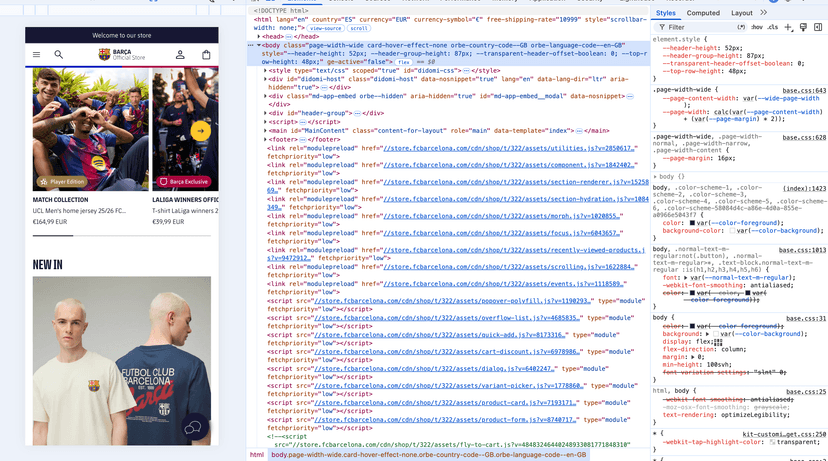
- Open the Network tab, filter by JS, and look for a deferred script with a name like
media-fade.js,image-fade.js, or similar that runs on every page load. - Throttle to Fast 4G, reload, and watch the image. A visible flash from invisible to visible, rather than the image just appearing as it downloads, is that script doing its job.
Where To Find Your Code
Quick walkthrough if you haven't touched your theme code before:
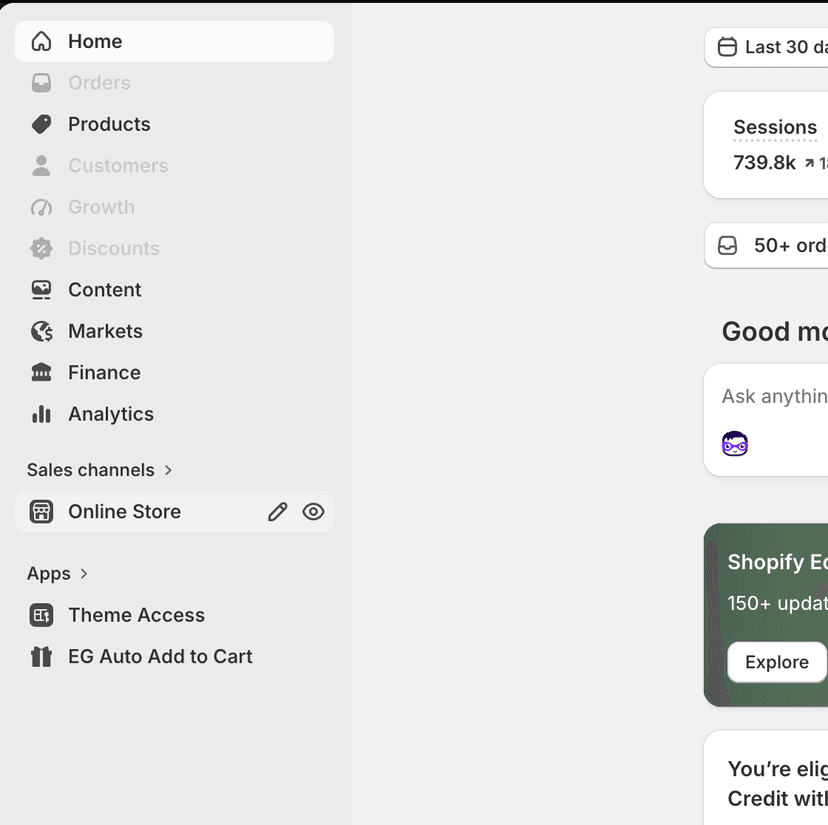
- From Shopify Admin, go to Online Store → Themes.
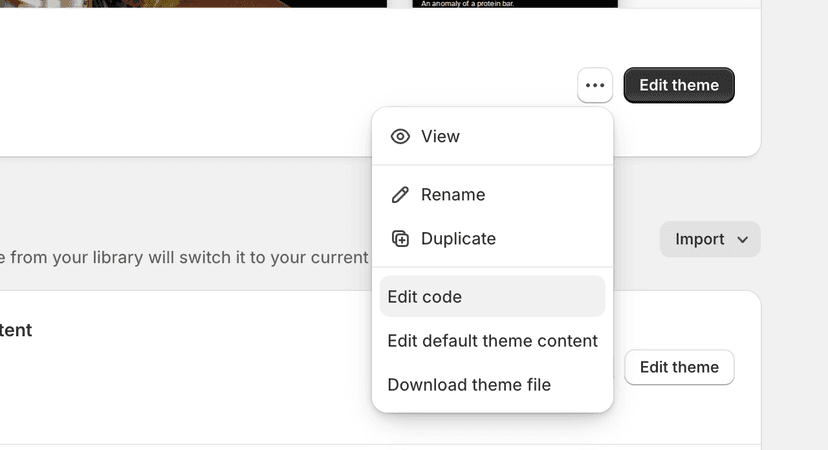
- Find your current theme and click the Actions menu (the three dots).
- Click Edit code to open the built-in code editor in your browser.
Inside the editor, your CSS lives under Assets (this is where the shimmer styles in Step 1 below get added), and your Liquid templates live under Sections and Snippets (this is where the image markup in Step 2 lives).
Important! CREATE A DRAFT THEME FIRST. Don't edit your live theme directly. From the Actions menu, click Duplicate before you touch any code, then click Edit code on the duplicate instead. Make every change there, preview it, and only publish it once you've tested everything below. Editing the live theme means every save goes out to real shoppers immediately.
Step-by-Step: Swap JS Fade-In For CSS Shimmer
1. Add the shimmer CSS
Drop this into your theme's base stylesheet:
:root {
  --skeleton-shimmer-color-1: #f0f0f0;
  --skeleton-shimmer-color-2: #e4e4e4;
  --skeleton-shimmer-speed: 1.4s;
}

@keyframes skeleton-shimmer {
  0% { background-position: 100% 50%; }
  100% { background-position: 0% 50%; }
}

[data-shimmer] {
  background: linear-gradient(
    90deg,
    var(--skeleton-shimmer-color-1) 25%,
    var(--skeleton-shimmer-color-2) 37%,
    var(--skeleton-shimmer-color-1) 63%
  );
  background-size: 400% 100%;
  animation: skeleton-shimmer var(--skeleton-shimmer-speed) ease infinite;
}

@media (prefers-reduced-motion: reduce) {
  [data-shimmer] {
    animation: none;
    background: var(--skeleton-shimmer-color-1);
  }
}
The prefers-reduced-motion block matters. Shoppers who've turned off animations at the OS level should get a static placeholder, not a spinning gradient.
2. Add data-shimmer to the image wrapper, not the image
<div
  class="product-media"
  style="--ratio: {{ media.aspect_ratio }}"
  {% if loading == 'lazy' %}data-shimmer{% endif %}
>
  <img
    src="{{ media.preview_image | image_url: width: 1600 }}"
    loading="{{ loading }}"
    decoding="async"
    alt="{{ media.alt | escape }}"
  >
</div>
The attribute goes on the wrapper div, never the img tag. The shimmer needs to sit underneath the image, not on it.
Important! If you skip step 3 below, the shimmer stays visible behind a transparent or partially-loaded image even after it's finished loading. The wrapper has to clip its contents and the image has to fully cover it.
3. Make the wrapper clip, and the image cover it fully
.product-media {
  position: relative;
  overflow: hidden;
}

.product-media img {
  display: block;
  width: 100%;
  height: 100%;
  object-fit: cover;
}
4. Delete the JS
Remove the script tag:
<script src="{{ 'media-fade.js' | asset_url }}" type="module" fetchpriority="low"></script>
Then strip every loading class from your image markup, anything like media-fade-img, media-fade-img--loading. Once nothing in your CSS references those classes, delete the JS file from your assets folder and remove it from your import map.
5. Skip the shimmer on above-the-fold images
Images already visible when the page loads don't need a loading animation, they should just load eagerly:
.product-grid__item--0 [data-shimmer],
.product-grid__item--1 [data-shimmer],
.product-grid__item--2 [data-shimmer],
.product-grid__item--3 [data-shimmer] {
  animation: none;
  background: none;
}
This step is optional, but skipping it means shoppers see a shimmer flash on images that load practically instantly anyway.
Testing and Verification
- Throttle to Fast 4G in DevTools and reload a product page. The shimmer should already be visible before the image request starts, not after.
- Confirm the image appears the instant it finishes downloading, no flash, no delayed opacity transition.
- Open the Sources or Network tab and confirm the old fade script is gone entirely, not just unused.
- Open the Rendering tab, force-emulate
prefers-reduced-motion: reduce, and confirm the shimmer becomes a static color instead of animating. - Open the Performance panel and record a trace while the page loads. The Main thread track should be clear of the long task that used to belong to the fade script.
Common Issues
- Shimmer still visible after the image loads. The wrapper is missing
overflow: hidden, or the image isn't covering the full wrapper. Checkobject-fitand confirm both width and height are set to 100%. - Shimmer never disappears on a broken image. That's expected. A broken image has nothing to paint over the shimmer, so the gap stays visible, which is more honest than a JS version that silently removes the loading class regardless of whether the image actually succeeded.
- New images from a slider or quick-view don't get the shimmer. If you're using a JS-driven carousel that re-renders slides, make sure
data-shimmergets applied at render time in the slider's own template, not only in the initial server-rendered HTML.
Real results from launch
This store relaunched a few weeks ago with a long list of speed work behind it, and CVR lifted +20% off the back of it. That number is from the launch as a whole, not from this one change.
This shimmer swap shipped afterward, and even though the site was already optimised, it resulted in a 2x speed increase for PDP. We are expecting another CVR boost from this alone.
Most stores have several of these small "JS doing something CSS already does" swaps sitting in their theme. None of them alone will fix a 12-second load time, but they add up, and they're cheap to find once you know what to look for. If you want a full breakdown of what's slowing your store down, book a site speed audit.